Today we drove into Joseph take take a tour of the bronze foundry. I had read good reviews from people that had done the tour but I was a bit worried about paying $15 a person to walk around a factory. It turned out to be really interesting and worth the price of admission.
After the tour we did some other things that I will get out of the way now. I want to record what we did but compared to the tour they are boring. We went to a small science center called Wallowology that displayed info about the area.


An interesting graphic showing Hat Point and Hells Canyon from Tuesday.

After a so-so lunch at local restaurant, we checked out some booths on a closed off street. Due to the rodeo this weekend we noticed a trend.

The belt in front, below was $450.

The tours run every weekday at 11 am and usually takes just over one hour. They take a maximum of 30 people. Today I would guess that there were around 20. It must not be a young person thing to do because I am sure that every one of us was over 60.
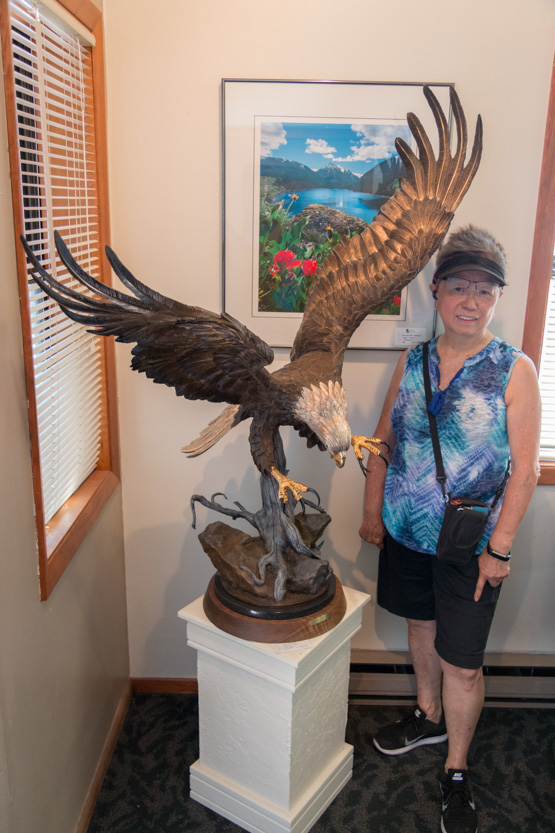
In the lobby this eagle was on display with gold plated beak and claws. Only $39,000. Makes me wonder the cost of those sculptures out on the street.
I am going to go through the whole process that they use. If it gets too boring, at least skip to the end of the tour because we saw some of the large sculptures that they are working on, one of which is a eagle with a 55 foot wingspan!
Almost all the work done here is for outside artists. They bring in their original pieces and the foundry makes the molds and casts the final sculptures. The foundry owns the molds. They obviously charge the most for the first piece because they have to make the mold and then a lot less for each subsequent casting.
The only things that the foundry sells are casting of leaves and pine cones that some unfortunate employee has to go out and collect each fall.
They use what is called the lost wax process. This table shows the basic steps. If you want more detail go to Wikipedia.

The tour guide quickly went through the steps using these examples.
1. Is the original piece from the artist. It will most likely be destroyed in the process.
2. They coat it with a increasingly thick layers of rubbers. The initial layers are very thin to capture all the detail. They add dividers so that the mold can be split apart.
3. The rubber is coated in many layers of a ceramics to give it strength.
4. The hollow mold is repeatedly dipped in wax until the desired thickness is reached. Then the mold is split and the was replica is removed. The mold can be used over again.
5. After the wax replica has been cleaned up, a wax bell and wax channels are added for the bronze to go in and the air to get out.
6. Then everything is dipped in a fire resistant ceramic that coats the inside and outside of the wax replica. This is then heated so that the wax is “lost”.
7. The bronze is poured in and the ceramic shell is hammered off.
8. Then all the extra channels are removed, mold lines ground out and the surface treatment or patina is done.
We didn’t actually see where they do steps 2 and 3. This is the inside of the rubber mold.

We started the real tour with the wax dipping room.

Each vat is at a slightly lower temperature. The hottest (190F) gives the thinnest coat and, again, is used first to capture the details.
He dipped his finger in to show how the layers are built up.

The result.
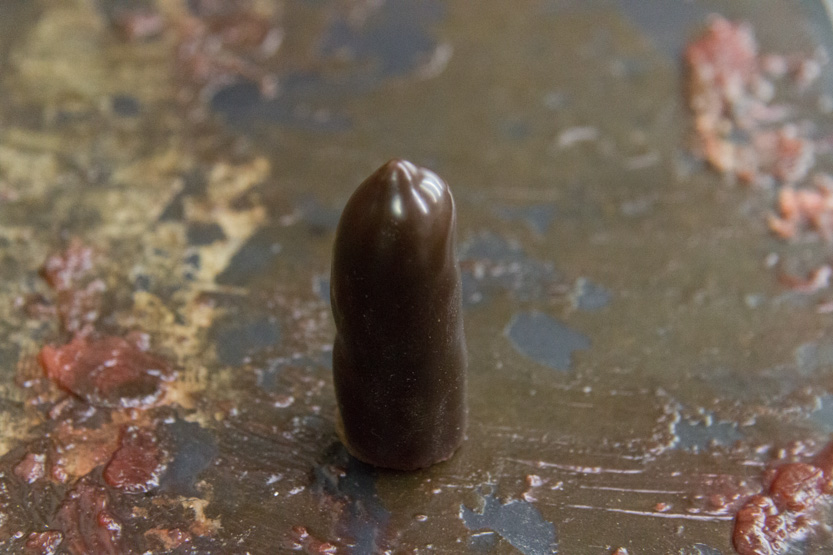
There were shelves and shelves of pieces waiting to be cleaned up. The smaller or less complicated bigger ones can be done all at once.


I rotated this one.

Doing the pine cones.
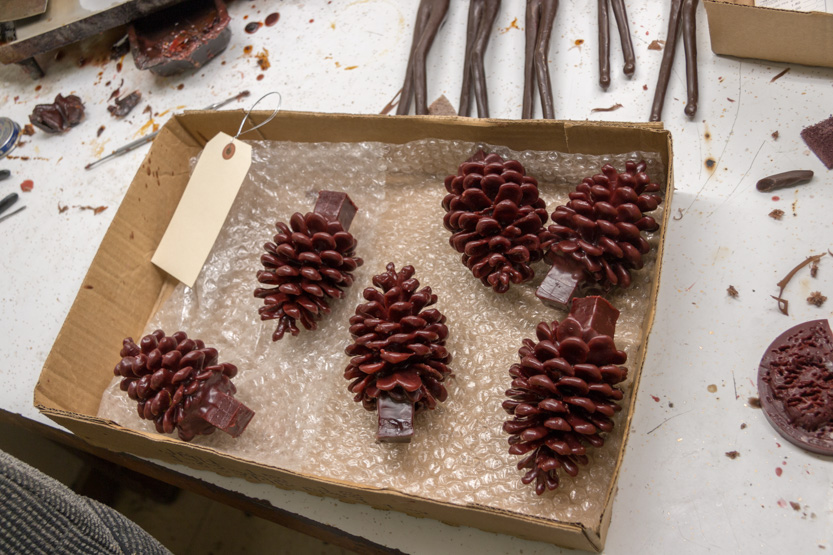
More complicated ones have to be done in pieces.

They have to cut out sections for the air to get out. They keep the cut out sections and cast them separately. They are later welded back in place.


At the next station they use dental tools and soldering irons to smooth out all the mold join lines and any defects like air bubbles. Each piece is inspected by a several people so that everything is perfect for the later casting.

Then on to add the bell and channels for air out and bronze in.

Next they coat everything in the high temperature ceramic. Many layers with drying, but not too much, between layers.

The vat is constantly being stirred. He said there is about $7000 worth of material in there. If the power ever went out it would quickly turn into a solid block and they would have to jack hammer out. I assume they have backup power. To clean the vat rim they can only do a small portion at a time because they can only turn it off for a few minutes.


These are then fired in a kiln to melt the wax. They had a sample one cut to show the resulting gap.

Time to pour the bronze. They dump ingots and scraps from previous sculptures into the crucibles and then it goes in the oven. Between the oven and kiln, they go through a lot of propane.

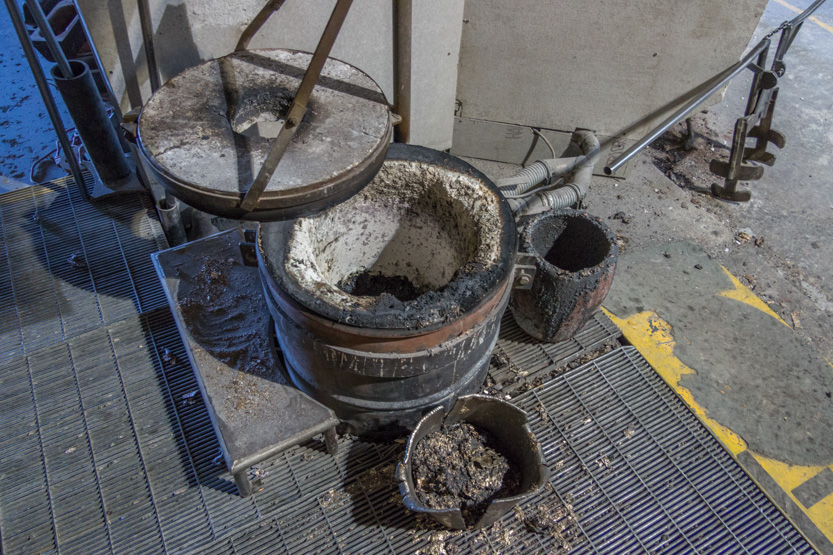
The molds are heated in the kiln to be close to the temperature of the bronze and then hung from this rack.
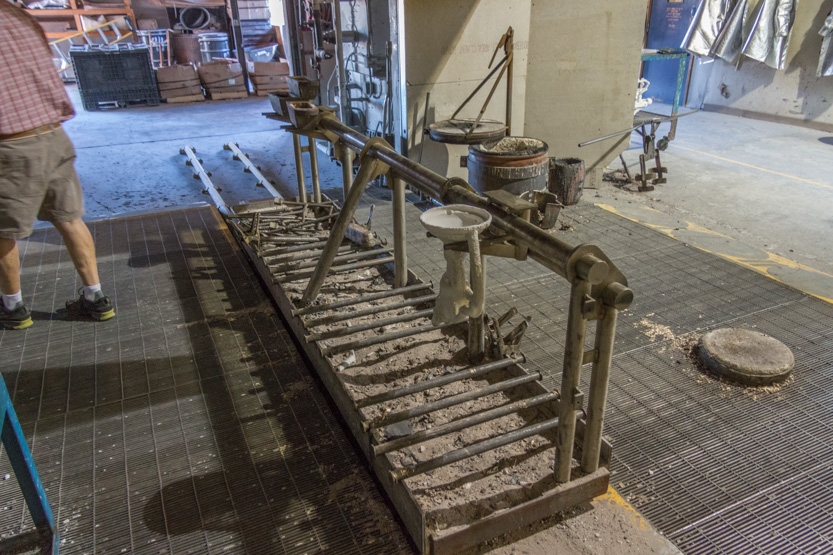
They use a crane and this clamp to pour the bronze out of the crucible. It’s a two man job, fully suited in fireproof clothing.

Next a plasma torch to cuts away all the extra channels.

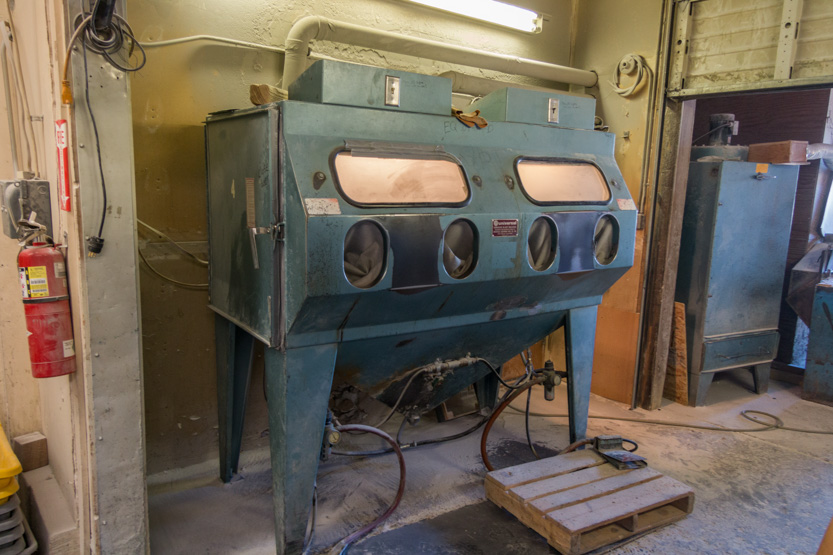
Sand blasting the surface to clean it up.
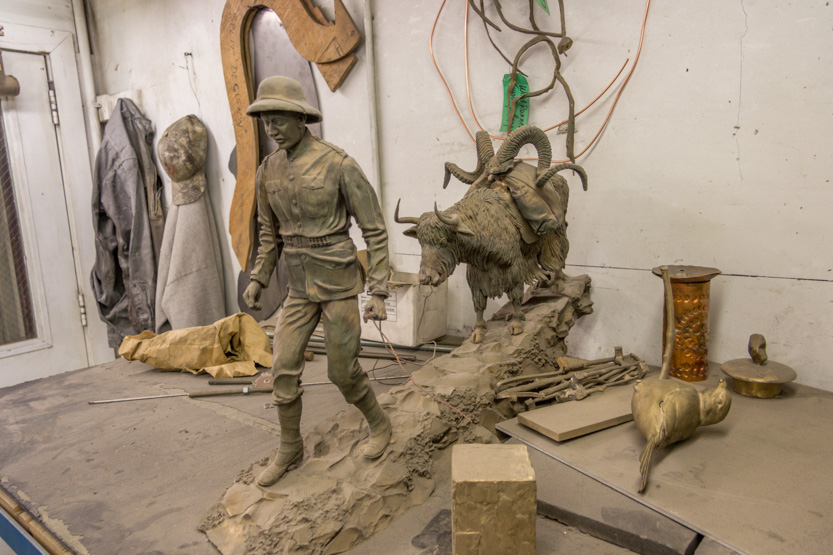
Next they take the various parts of a piece and use a TIG welder to attached them together. Then they use Dremel like tools to smooth out the welds and match it to the pattern around the weld. Even a bronze hammer.

Even though this sculpture is relatively small it is complicated enough that I think there are 7 parts to it.


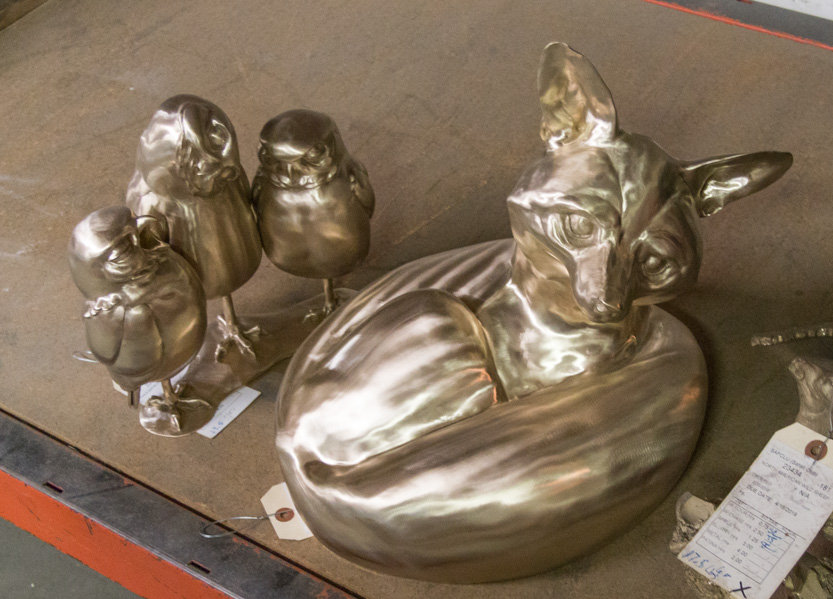
When they quote the artist a price it is partly based on how long it will take to do each step. Each piece has a tag with the estimated vs actual time.

The due date for this one was a month ago.
The final step is adding the patina to the surface. This is done by brushing on various chemicals and heating them.
The artist chooses what look they want but the actual work is done by employees here. They wanted this one to look rusty.

They had a display of some of the options.

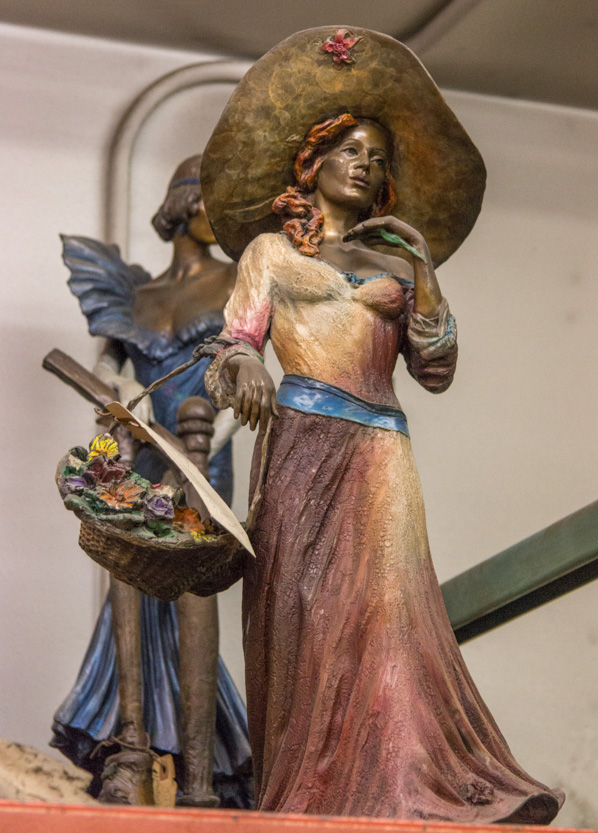
And some completed pieces.
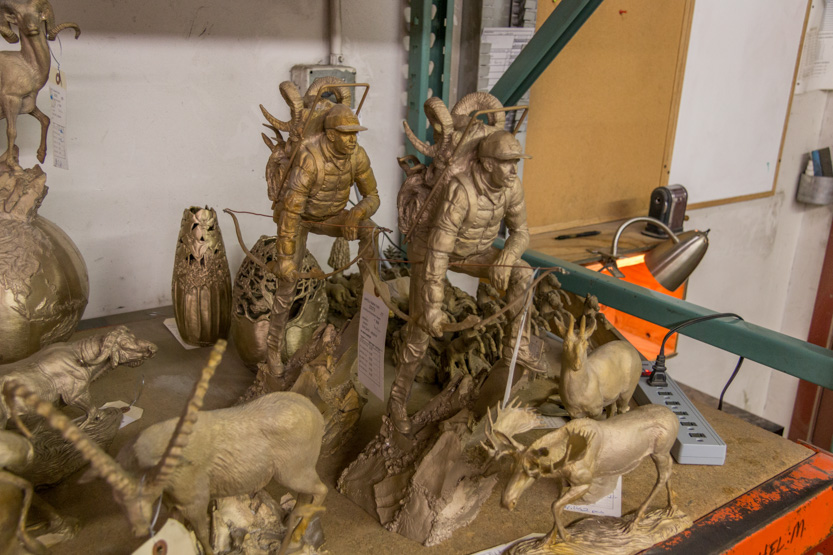
Lots of colourful ones.


Then it was off to another building where they assemble the big stuff.
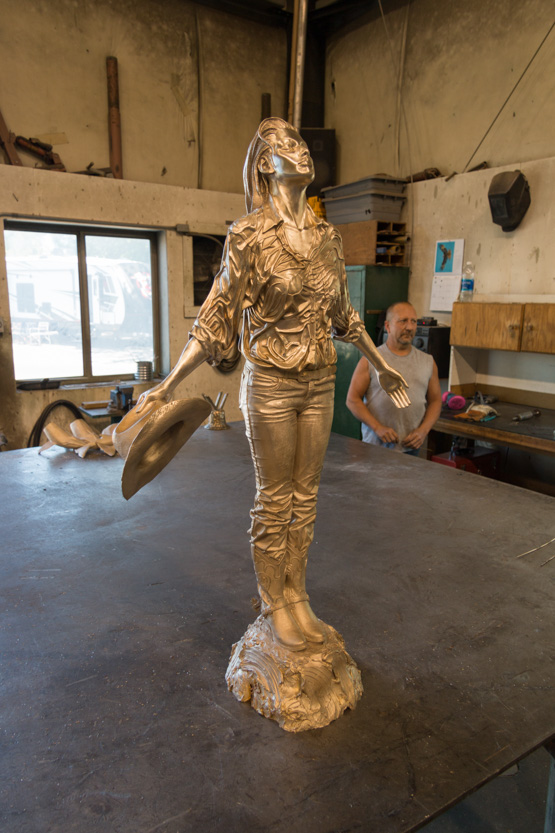
The guy in the back, above, was currently working on smoothing out and matching the weld line with the rest of this neck.

I forget how many hundred separate pieces made up the driftwood like horse.

The antlers, below, are real.

An eagle, about to catch a fish, awaiting its head.


As for the giant eagle, they seem to have finished the claws and head.

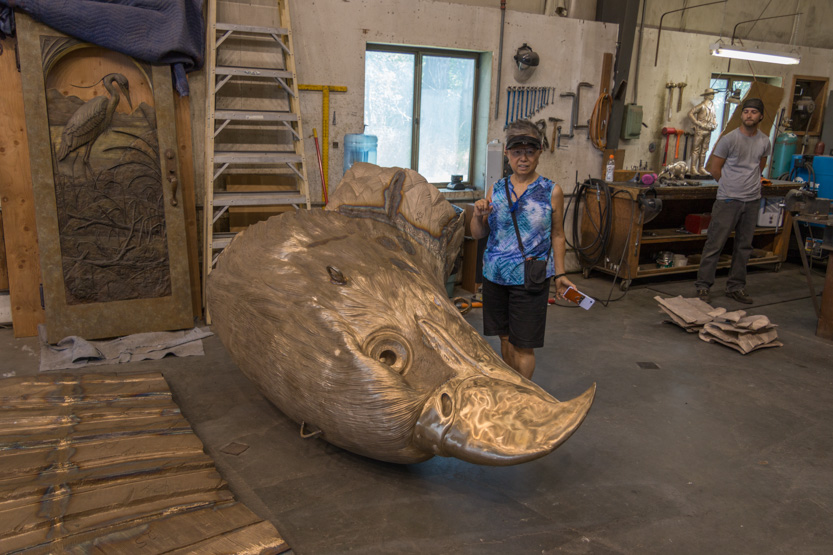
Looking inside the head you can see how many separate panels it took.

Right now they are working on putting together the jigsaw puzzle that are the wings.


The weird thing about the eagle is that the artist who is paying for it to be built does not have a buyer yet. It would seem like there is a very small market for a 55 foot wide eagle. I hope he paid the foundry in advance.
And we are done. What an amazing place.

This was our last day here. Our next stop is Teddy Roosevelt National Park in North Dakota. It is 3 RV driving days away, one night at a campground and 2 at Walmarts. Tomorrow’s drive should be interesting because there are some very steep grades to go down and up. The rest is mainly interstate so I may not post anything until we arrive at the national park.
No comments:
Post a Comment